Description
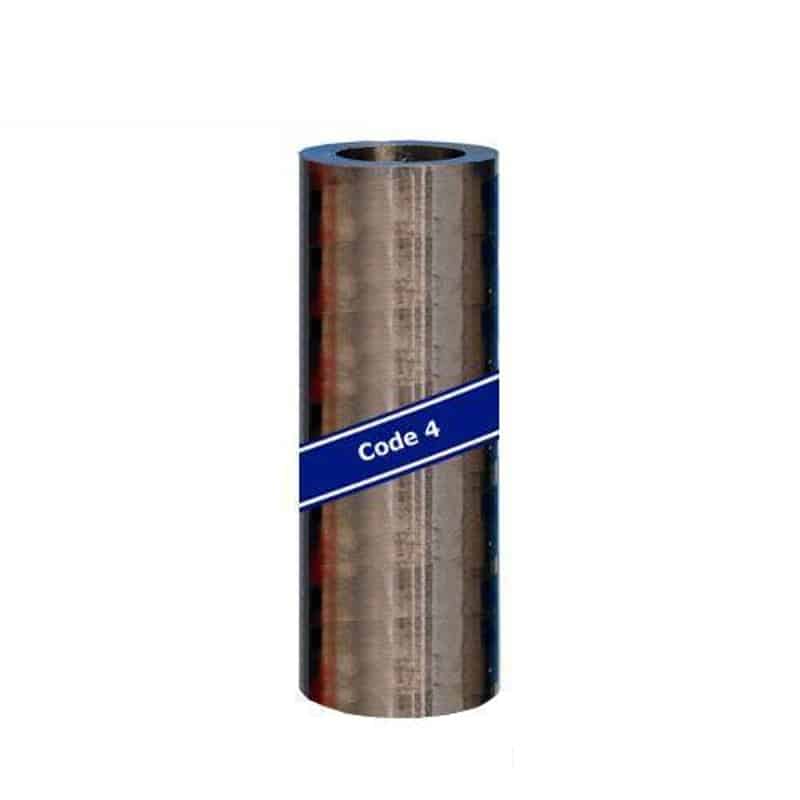
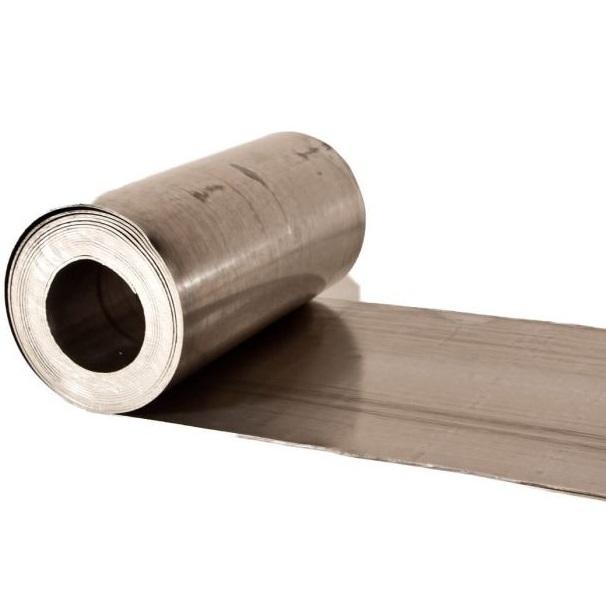
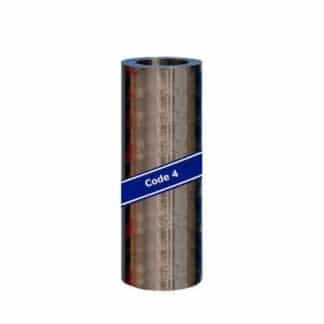
Lead Code 4 – 300mm (12 inch) x 3m – 18.5kg – Roofing Lead Flashing Roll
- Product Weight: 18.5kg
- Thickness: 1.8mm
- Width: 300mm (12 inches)
- Length: 3m
- Genuine machine cast Lead manufactured by Midland Lead
- Long Lasting – correctly installed lead will last over 100 years, far superior than lead free alternatives.
- Environmentally Friendly – Over 95% of lead is reclaimable and is fully recyclable
- CE mark EN14783 suitable for all roofing and cladding applications, including flat and pitched roofing, cladding, flashing, guttering and fine detail work.
- BBA approved, BS EN 12588 compliant and comes with manufacturer (Midland Lead) 60 year guarantee
Benefits of Lead flashing
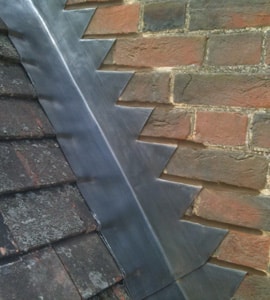
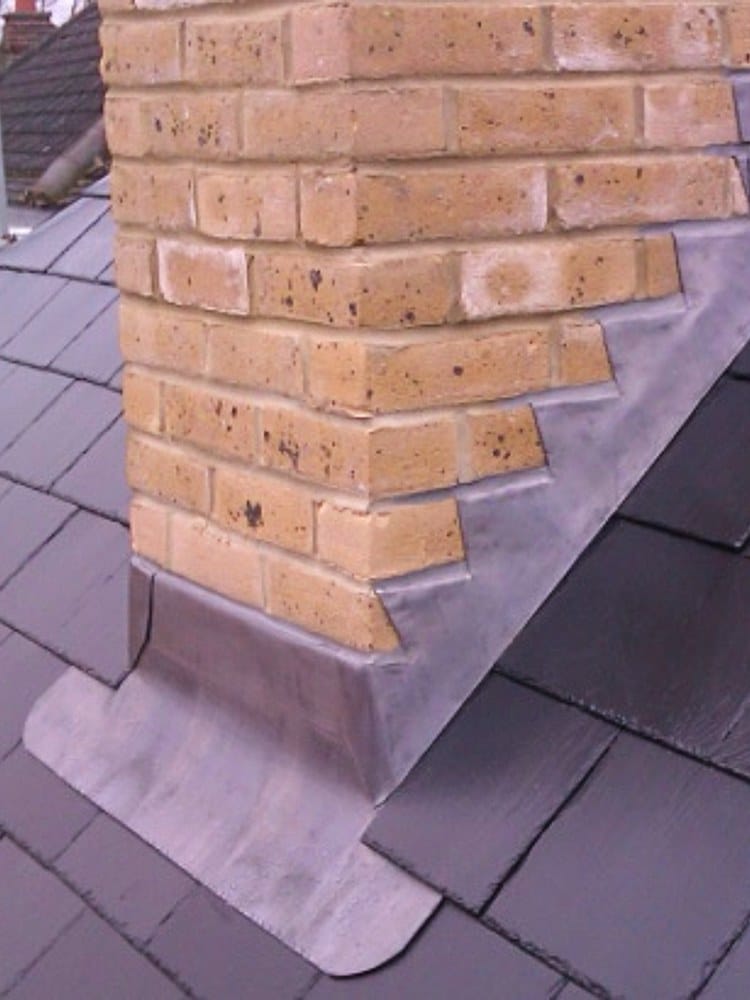
The Code 4 Lead Roll by Midland Lead is considerably more flexible and resistant to wear when compared to the older Code 3 option due to its increased gauge making it a suitable choice for almost every type of pitched roofing including vertical cladding, dormer roofs and cheeks, as well as a variety of flashings (such as hip, ridge, chimney, apron, and cover ones). If you’re looking for lead flashing, Code 4 will help waterproof your roof for generations.
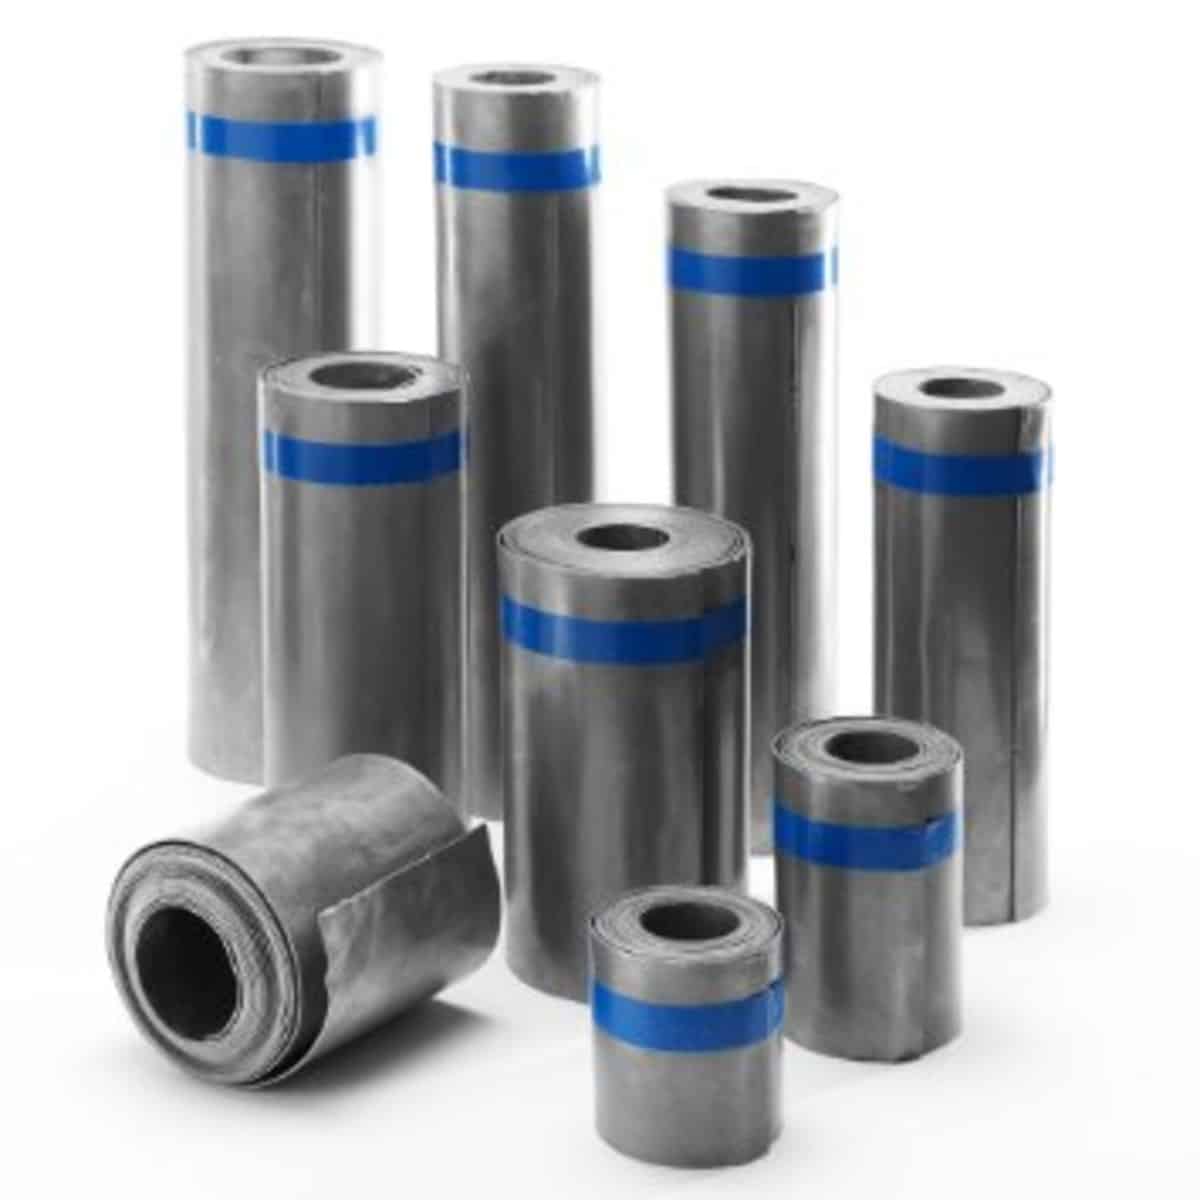
Lead is malleable but durable, and it typically lasts over 100 years. Lead is a sustainable and environmentally friendly product too. It is 100% recyclable and has a significantly smaller impact on global warming than the production of synthetic materials, not to mention it is also cost-effective, practical and stylish, easy to use and comes in a range of sheet thickness codes to suit your project’s needs.
This Code 4 Lead Roll is 1.8 mm thick (which is an increase of 36%) and weigh 20.41 kg per square metre. This extra thickness means additional resistance to thermal movement which enables you to increase the maximum length of flashing by 50%. The Code 4 lead prices are still competitive and cost effective.
Lead sheet works out cheaper every time, because it is a long-term solution.
The Midland Lead machine cast lead sheet is approved by the British Board of Agrément (BBA) and comes with a 60-year guarantee. Our rolled (or milled) lead sheet conforms to BS EN 12588 and has a 50-year guarantee. But the working life expectancy of all types of lead sheet is much longer. Even at a conservative estimate, it should last you well over a hundred years. That’s not a short-term solution; it’s an investment.
Non-lead alternatives can’t match that! Most manufacturers don’t know how long their products will last. And they’re not prepared to guarantee them for anything over 10 to 20 years.
And don’t forget, even when your lead does need replacing, there is still a considerable value in the old material, so you can sell it on or recycle
Lead has been a common choice of building material for centuries and is more popular than ever in modern times. If lead is correctly installed, then no other metal can match its longevity and protection properties.
A widespread classic choice, the Code 4 Lead Roll has a long history in the industry because it is very easy to extract, work with, and smelt.
Lead sheet is adaptable and fit-for purpose
Lead is incredibly easy to use. It works alongside other building products, it is non-corrosive and flexible. Lead sheet doesn’t lift in high winds and it can withstand – and can be fitted in – any sort of weather.
Offering durability, longevity and enduring good looks, it’s very easy to see why lead has stayed so popular. And lead sheet can be used in so many ways, from roofing and cladding to radiation protection to sound-proofing.
Our CE mark EN14783 shows that our machine cast and rolled lead sheet are suitable for all roofing and cladding applications, including flat and pitched roofing, cladding, flashing, guttering and fine detail work.
How will my Lead flashing be delivered?
All Lead orders will be sent on a free next working day (24 hour) UK delivery service.
Your order will be dispatched the same working day if received by 1pm otherwise it will be dispatched the next working day.
Specification
Product Weight: 18.5kg
Thickness: 1.8mm
Width: 300mm (12 inches)
Length: 3m
Genuine machine cast Lead manufactured by Midland Lead
Long Lasting – correctly installed lead will last over 100 years, far superior than lead free alternatives.
Environmentally Friendly – Over 95% of lead is reclaimable and is fully recyclable
CE mark EN14783 suitable for all roofing and cladding applications, including flat and pitched roofing, cladding, flashing, guttering and fine detail work.
BBA approved, BS EN 12588 compliant and comes with manufacturer (Midland Lead) 60 year guarantee
How To
How to install Lead Roof Flashings
Installing Lead Roof Flashings, helps protect against leaks where joints are formed between various sections of a roof.
If the roof structure meets any kind of junction between two things such as a vertical surface or an extension, there’s an increased risk of leaking. You will need to install Lead Roof Flashings, as they offer waterproofing and flexible properties, that will seal against leaks.
Preparation
Gather all the required tools and the Lead sheets. This includes a sheet Lead Knife, Lead dressing tools, fixings, mortar raking desk and any Lead bending tools.
Find a clear work space on the ground for cutting the Lead and shaping the flashing.
Prepare the abutment
After collecting everything you need and finding a workplace, proceed to remove mortar from the brickwork, using a mortar raking desk or a chisel and hammer.
This is only needed in a place where installation of Lead Flashing is being done the first time on a roof. Junctions with mortar that need to be removed include between a roof and a wall, above doors and windows etc.
Remove mortar from the brickwork course that sits about 150mm above the roof, to a depth of around 15 to 20mm.
Measure
- Chase depth (how much Lead goes into the brickwork)
- Distance from the chase to the joint in the roof
- From the joint across the second surface or the roof covering
Note: You should have about 150mm from the joint to the end of the Lead Flashing.
Cutting the lead
After preparing the junctions on the roof, cut the Lead to size (around 1.2m long), using a sheet Lead Knife. You could use a utility knife but it can blunt very quickly.
This length will become the width of the Lead and shouldn’t be longer than 1.2m or it will cause problems as you try to shape it, and may eventually split over time.
Shaping the Lead Flashing
Use a Lead dresser to remove folds or smooth out any wrinkles of the Flashing you intend to fit onto the roof.
Use bossing mallets and Lead chase wedges to bend the sheet into the preferred shape and ensure the Lead sheet fits right into corners and the brickwork.
Bend the sheet to the desired shape, using Lead bending tools. Work the Lead around any existing structures, and shape corners using Lead Bossing tools.
Bending and folding the Flashing into the desired shape is easy, with Lead Dressing tools. A straight edge will facilitate pulling the Flashing into the correct shape.
Fitting ledge straps
Now, to join the roof tiles to the Lead, fit ledge straps onto the nails of the same tiles at intervals of 600mm.
Ledge straps will hold the Lead in place, minimising the effect of uplift caused by strong winds and prevent it from sliding down the roof over time.
Installing the Lead Flashing
To minimise the chances of leakage, place the already shaped Flashings with each piece overlapping the previous one, by a minimum of 100mm.
Installing fixings
Two types of fixings can be used, rolled up scrap metal or hall clips. The latter are machine-made and provide extra stability and security. It saves time but is more expensive than scrap metal.
The fixings should be placed at around 450mm apart.
Finishing the installation with dressing tools
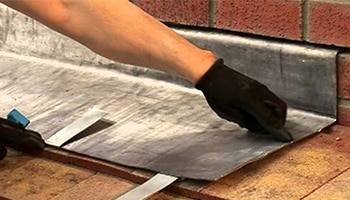
Using the dressing tools, fit the Lead Flashing tightly and dress it into the brickwork, covering all crevices and corners.
Fold the ledge straps back up over the edge of the Flashing, and tap it down onto the Flashing like a clip.
If you are installing the Lead Flashing onto a surface with an edge, such as a Porch, or an extension that doesn’t cover the full width of the house, have the Flashing extend over the edge.
You should cut the angle of the roof end into the Lead, then beat to fold the remaining Lead around and down the edge of the surface, with Lead dressing tools.
For profiled tile roofs, fit the Lead Flashing up and down the tiles valleys and troughs, using Lead dressing tools or a hammer.
Securing the chase
You’ll need a Lead chase sealing product or mortar for this part.
Before adding the sealing product or mortar, use a wedge to push the Flashing down within the chase. This allows the bonding of mortar which helps it stay secure for longer.
Now, add the sealing product or mortar and ensure it is pushed all the way back into the chase. If you don’t do this, the Flashing will be loose and increase chances of leaking.
You should wipe any excess mortar on the surface, off with a cloth.
After completing the installation process of the Lead Roof Flashings, apply patination oil which will preserve the Flashing, prevent carbonisation and or streaking, and give it a longer lasting, cleaner look.
We have at Tradestore, fantastic high-quality Lead Flashing products which you can use to complete an installation project. Our Roofing Lead Flashing Roll is malleable, yet durable, and will last a century.
Tradestore offers a free next working day delivery for any roofing Lead Flashing orders.

Reviews
There are no reviews yet.