19 Oct 2025
The Roofing Guide: Dry Ridge Systems for UK Roofers
If you’re a roofer, standing still means losing ground. You’ve got to stay sharp with materials and methods - not just to win jobs, but to stay legal and respected. One of the biggest shifts in our trade has been dropping the old sand-and-cement ridge bed for dry-fix systems. The dry ridge is now standard in most new builds and re-roofs across the UK, and it’s becoming the only acceptable approach under British Standards.

If you’re a roofer, standing still means losing ground. You’ve got to stay sharp with materials and methods – not just to win jobs, but to stay legal and respected. One of the biggest shifts in our trade has been dropping the old sand-and-cement ridge bed for dry-fix systems. The dry ridge is now standard in most new builds and re-roofs across the UK, and it’s becoming the only acceptable approach under British Standards.
So what exactly is a dry ridge system? It does away with mortar. You don’t bed your ridge tiles in sand and cement anymore. Instead, you fix them mechanically – screws, clamps, seals – so they stay put without brittle mortar failing underneath. The result is a ridge that’s strong, neat, and nearly zero maintenance.
Let me walk you through how it works, why it’s replaced mortar in almost every decent job today, and what it means for your roofing craft.
How It Works
The concept is simple: fasten ridge tiles mechanically to the ridge batten, get a weatherproof seal, and let the roof breathe. Because there is no rigid mortar, the system adapts as the roof moves, and you get ventilation right at the top.
Here’s the usual sequence on a roof:
- Batten the ridge
You fix a timber ridge batten along the apex. That’s your anchor point for everything that follows. - Lay the ventilated roll
You roll out a specially designed membrane over the batten. It keeps rain out but lets moist air escape. On its underside are sticky butyl strips that press down onto the tile profiles, sealing against wind and water ingress. - Place the ridge tiles
Set the ridge tiles in line along the apex, laying them neatly so each fits into its neighbours. - Mechanically fix each tile
At each joint you install a plastic union, then add a clamping plate over that. You drive a corrosion-resistant screw through the plate, union, and into the batten beneath. That locks the tile in place. You repeat this for every ridge tile along the roof.
When you’re done, every tile is held firmly in place, weather-sealed, and vented beneath. No loose bits, no patches, no mortar to crack.
The Main Parts You’ll Use
If you pick up a quality dry ridge kit – from Marley, Klober, Cromar, or similar – expect these components:
- Ventilated Ridge Roll – a breathable, waterproof layer that keeps out rain while letting internal moisture escape.
- Ridge Unions / Fillers – plastic spacers between tiles that maintain consistent gaps and improve sealing at the joints.
- Clamping Plates – metal plates that distribute the load from the screw so you don’t crack the tile.
- Fixing Screws + Washers – long stainless or coated screws with sealing washers so moisture does not creep in.
- Batten Support Brackets – these support the ridge batten at the correct height so your ridge line stays straight.
Why Dry Ridge Beats Mortar, Every Time
Back in the day, mortar was all we knew. But over time, we learned just how weak it can be. Dry-fix systems fix those failings once and for all.
Durability Against Weather
Mortar cracks under repeated wet-freeze cycles. It crumbles, shifts, sometimes crumbles away entirely when the roof moves. Dry ridge, however, uses mechanical fixings with capacity for small movement. It holds tight through the worst wind and weather. That’s why BS 5534 (the British standard for tiling) now expects mechanical fixing of ridge and hip tiles.
No More Re-pointing Jobs
Nothing sucks time like being called back to re-point cracked mortar. With a dry ridge properly fitted, there’s very little that needs maintenance. The fixings and seals are designed to last as long as the tiles themselves.
Roof Health & Ventilation
A big gain often overlooked: dry ridge lets the roof breathe. The ventilated roll draws out warm, moist air from the roof space – preventing condensation, damp, and rot. Mortar, by contrast, seals everything in and can trap moisture. Over time, that does damage.
Faster, Cleaner, Less Weather-Dependent
Mixing mortar is messy, slow, and badly affected by cold or wet weather. A dry ridge kit is lighter, faster to work with, and can be installed in a wider range of conditions. The result is more predictable workmanship and fewer delays.
Compliance: Meeting British Standards
The 2014 update to BS 5534, and its later amendment in 2018, made it clear: ridge or hip tiles must be mechanically fixed. Mortar on its own no longer suffices. The easiest and safest way to achieve compliance is to use a BBA-approved dry ridge system. That gives you certainty, protects your work, and gives your customers real assurance.
When You Can Use It (Almost Always)
Dry ridge is standard on new roofs, but it also works for retrofits. On a re-roof, you strip off the old ridge tiles, remove the failing mortar, clean the battens, and install the new system in its place.
The only real obstacle is some historic or listed buildings, where conservation rules might demand traditional materials. Even then, many specifiers allow a mix of traditional looks and modern fixings.
Final Word
There’s no longer a choice. Dry ridge systems outperform mortar in every meaningful way. They last longer, reduce call-backs, improve roof health, and meet the current standards. If you’re serious about doing your work right, you’ve got to make dry-fix systems part of your toolkit.
Related Articles

19 Oct 2025
A Guide to Acoustic Insulation: How to Soundproof Walls & FloorsNoise problems in buildings are more common than many think. Even a well-built roof or wall can let sound travel through gaps, structural paths, or vibration. If you’re working on roofs, extensions, conversions or interiors, incoming or shared noise complaints often come your way. This guide brings together technical insight and trade practice - so you can spec systems with confidence, understand the rules, and deliver results that satisfy both client and Building Control.
Read More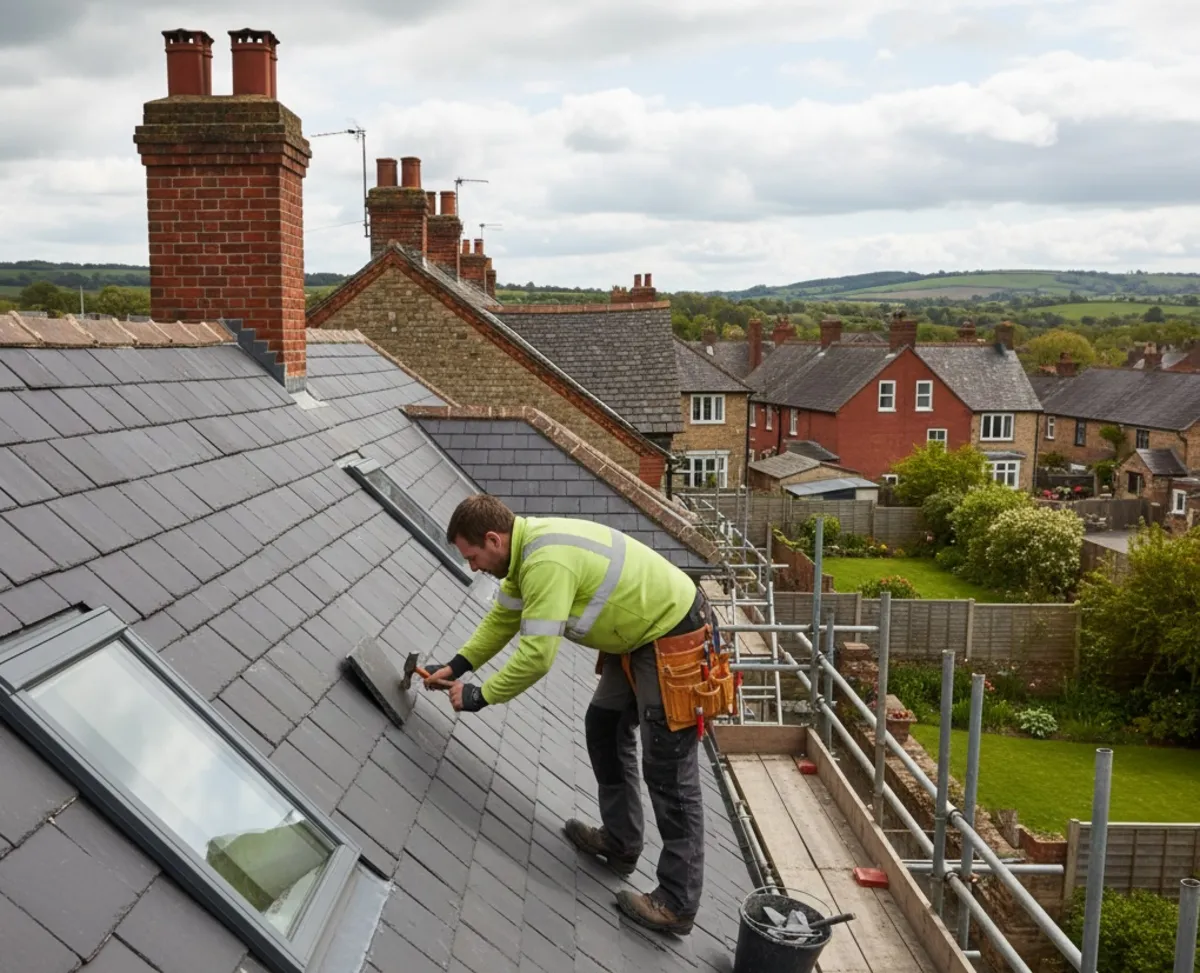
19 Oct 2025
Loft Insulation and Part L: What Roofers Need to KnowIf you’ve been roofing in the UK for a while, you will have noticed how often the regulations seem to change. Part L is the one that affects us most, as it deals with energy efficiency. Every time you put your hands on a roof, whether it’s a re-roof, a new build or a loft conversion, you are working with Part L.
Read More
18 Sep 2025
The Ultimate DIY Guide to Insulating Your Garden Shed: A Breathable ApproachIn this comprehensive guide, we'll delve into the world of breathable membranes, explain why they are a game-changer for garden shed insulation, and walk you through the entire process, from preparation to the final touches.
Read More