05 Apr 2023
What is foil insulation?
This blog post provides an in-depth overview of the steps necessary for successfully installing roofing felt. It is essential to ensure that each step is correctly carried out, as roofing felt is a vital part of protecting a home from the elements.
This blog post provides an in-depth overview of the steps necessary for successfully installing roofing felt. It is essential to ensure that each step is correctly carried out, as roofing felt is a vital part of protecting a home from the elements.
Materials
The first step in installing roofing felt is to make sure that you have all the required materials. You will need to have a sufficient amount of felt to cover the entire area, as well as adhesive, nails, and a trowel to help spread the adhesive. Additionally, it is important to note that the materials should be of the highest quality available, as this can help to ensure that the roofing felt lasts for several years. It is essential to take the time to select the best quality materials when it comes to installing roofing felt, as this can make all the difference in the long-term durability of your installation. Additionally, investing in good quality materials can help to reduce the amount of maintenance required in order to keep the roofing felt in top condition over the years.
Preparation
Before beginning the installation process, the area must be appropriately prepared. All existing roofing materials, such as tiles, must be removed and the surface must be completely free from any dust or debris. A brush or broom should be used to thoroughly sweep the area to ensure that any dust or debris on the surface is removed, as this could potentially affect the adherence of the roofing felt. Additionally, it is important to inspect the area for any signs of damage or wear, such as cracks or holes, which must be repaired before the installation process can begin. Furthermore, it is imperative to make sure that the surface is completely dry, as any moisture can cause issues with the installation as well. Once the area is prepared and ready, the installation process can begin.
Installation
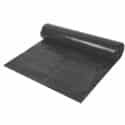
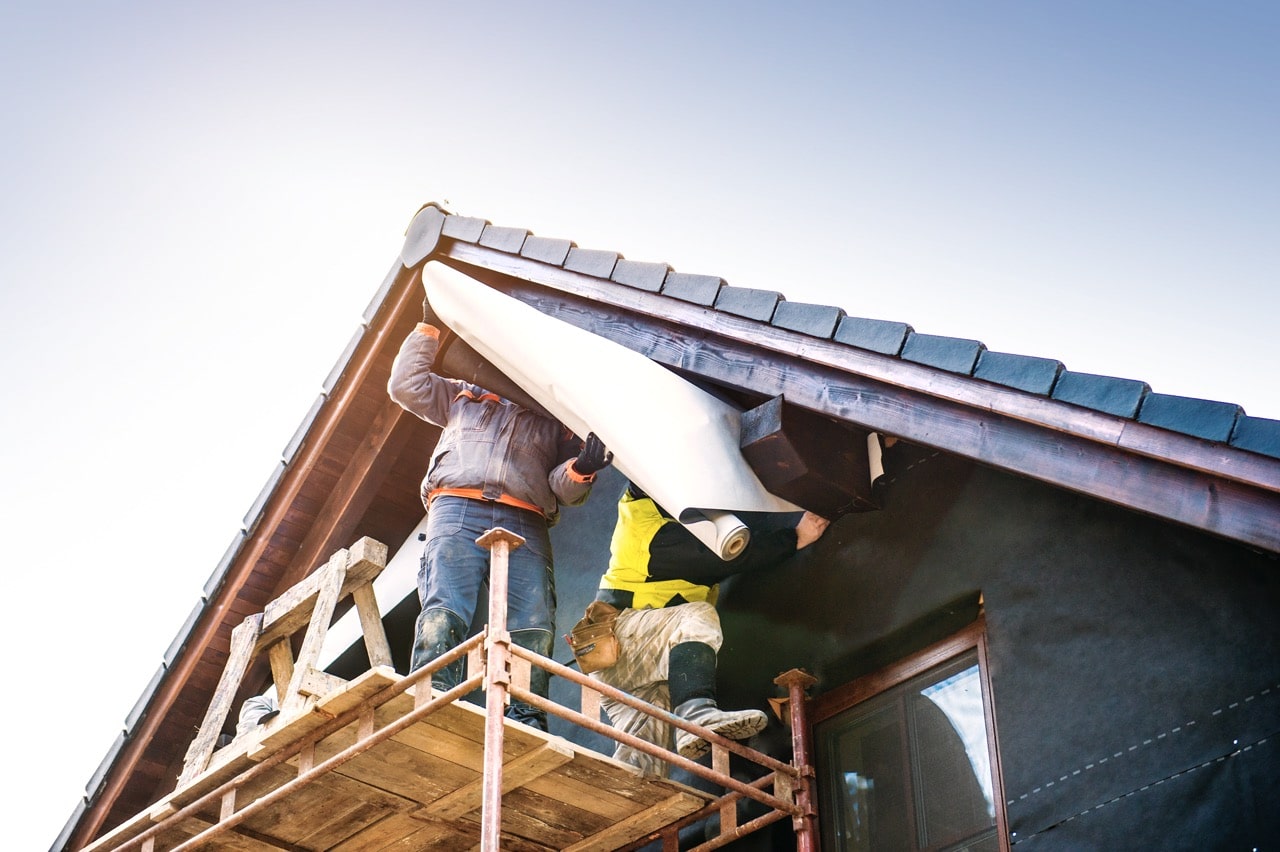
Once the surface has been thoroughly prepared with a wire brush to remove dirt, grime, and foreign objects, the roofing felt can now be installed. Begin at the bottom of the roof, unrolling the felt and gradually move up, using the adhesive to secure the felt in place. After the felt is in the right position, nails can be used to further secure it to the roof, ensuring that the felt will remain firmly in place. Care should be taken to ensure that the nails are evenly spaced and that the felt is not torn in the process. This will ensure that the roofing felt is securely fastened and will provide a waterproof barrier to protect the roof from the elements.
Maintenance
In order to ensure that the roofing felt remains in top condition and its life is extended, it is important to regularly inspect and check it for any signs of wear and tear. In addition, there should be a periodic inspection of the roofing felt every few months to make sure it is still correctly adhered to the roof and that it has not been damaged in any way. Also, it is always a good idea to repair any damage or wear and tear as soon as possible to keep the roofing felt in good condition and prevent any potential future problems.
Conclusion
Installing roofing felt is a task that requires patience and knowledge. However, by following the steps outlined in this blog post and using the highest quality materials, the installation process can be completed quickly and correctly. Proper installation is essential for ensuring that the roofing felt will provide protection for years to come.
Related Articles

29 Mar 2024
Mastering Membrane Roof Waterproofing TechniquesWaterproofing is a crucial aspect of construction and building maintenance. Without proper waterproofing, structures can be susceptible to water damage, mold growth, and structural deterioration.
Read More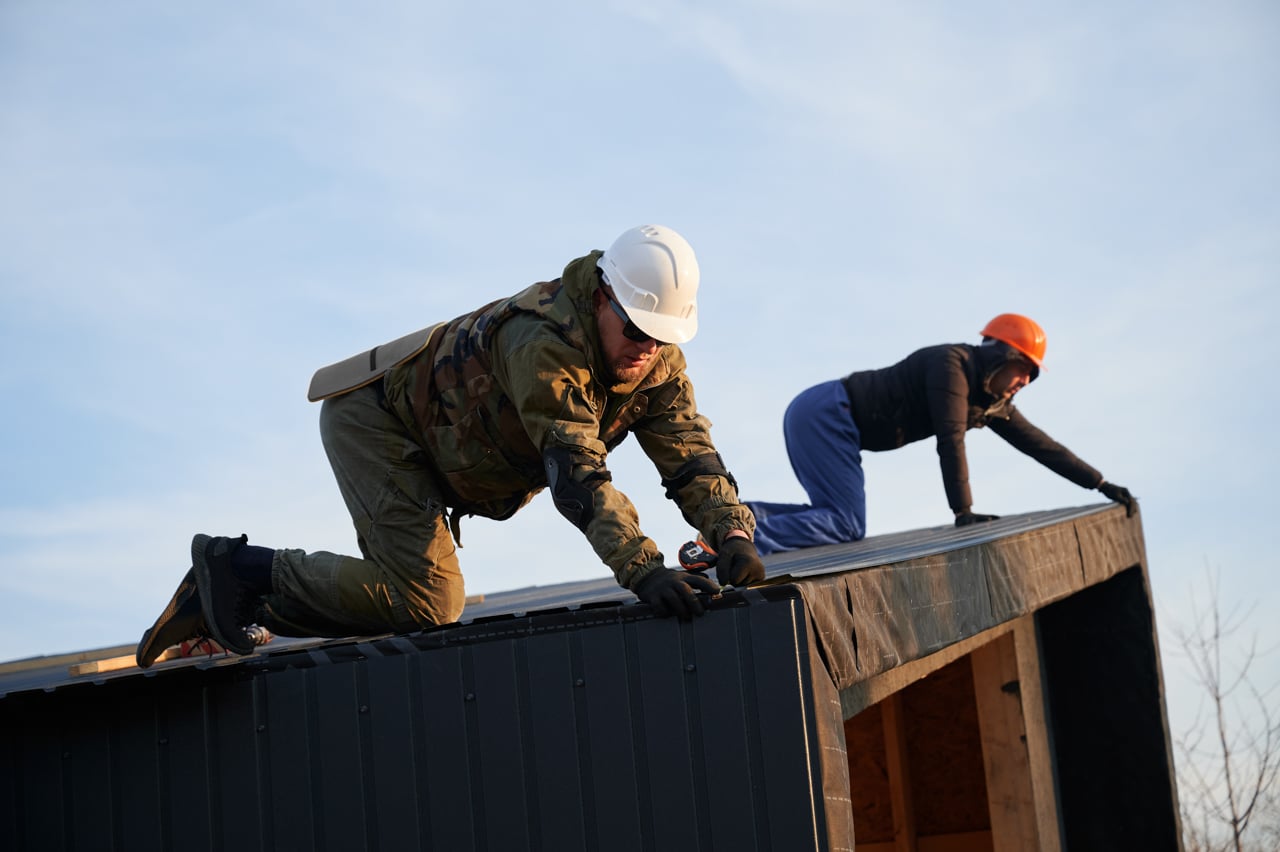
25 Mar 2024
Membrane for Roof Repair: The Ultimate GuideRoof repair is an essential task for every homeowner or property manager. Whether you have a flat roof or a pitched roof, ensuring its integrity and durability is of utmost importance.
Read More
18 Mar 2024
Essential Guide to Roofers Felt InstallationRoofing felt, also known as roof felt, is a crucial component in the construction and maintenance of roofs. It serves as a protective layer and acts as a waterproofing barrier. Understanding the different types of roofer's felt available in the market, the benefits of installing it, and the proper installation guidelines is essential for ensuring a durable and long-lasting shed roof.
Read More